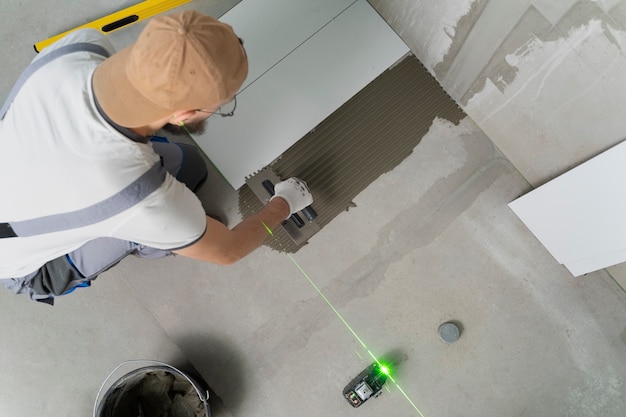
Patios are a central gathering place for family meals, weekend barbecues, and quiet evenings under the sky. Over time, even the most carefully poured concrete can settle, crack, or develop low spots that affect both aesthetics and safety. By understanding the fundamentals of concrete leveling and applying proven maintenance techniques, homeowners can dramatically extend the lifespan of their patio while preserving its visual appeal. The following guide outlines professional tips that combine practical DIY steps with insights drawn from industry-leading services, helping you keep your outdoor surface level, durable, and ready for use year after year.
Why Concrete Leveling Matters
Uneven concrete isn’t just an eyesore; it creates tripping hazards, accelerates water infiltration, and can lead to larger structural failures. Proper leveling restores the original flatness, distributes loads evenly, and prevents moisture from pooling, one of the main culprits behind freeze-thaw damage. When the patio remains level, the surrounding landscaping stays intact, and the overall value of the property is maintained.
Assessing the Condition of Your Patio
Visual Inspection Checklist
- Look for visible depressions, bumps, or cracks that exceed ¼ inch.
- Check for water pooling after rain or irrigation.
- Notice any shifting of adjacent pavers, stones, or decking.
- Listen for hollow sounds when tapping the surface, a sign of voids beneath.
Measuring Unevenness
Use a long straightedge or a laser level to determine the extent of the slope. Mark the low points with chalk and measure the depth with a ruler. If the variation exceeds ½ inch over a 10-foot span, professional intervention may be advisable.
DIY Concrete Leveling Techniques
1. Self-Leveling Underlayment
For minor depressions (up to ¼ inch), a self-leveling compound can be poured directly onto the cleaned surface. Follow these steps:
- Thoroughly clean the area, removing debris, oil, and loose particles.
- Prime the concrete with a bonding agent to enhance adhesion.
- Mix the underlayment according to manufacturer instructions.
- Pour and spread the mixture; it will flow into low spots and self-level.
- Allow the product to cure fully before walking on it.
2. Mudjacking (Slabjacking)
When deeper voids are present, mudjacking offers a cost-effective solution. This process involves drilling small holes in the slab and pumping a cement-based slurry underneath to raise the concrete back to its original elevation. While the technique can be performed by experienced DIYers, precision is critical to avoid over-lifting.
3. Polyurethane Foam Injection
Foam injection is a lighter alternative to traditional mudjacking. Polyurethane expands to fill voids, providing a durable lift without adding significant weight. It’s especially useful for older patios where additional load could exacerbate underlying settlement.
When to Call a Professional
Complex issues such as extensive cracking, large differential settlement, or structural concerns require expert assessment. Professional concrete leveling services bring specialized equipment, calibrated pressure systems, and material knowledge that ensure a lasting repair. Discover expert strategies here to understand the range of solutions available for severe cases.
Maintenance Practices to Prevent Future Settlement
- Control Drainage: Ensure water flows away from the patio using proper grading, French drains, or gutter extensions.
- Seal the Surface: Apply a high-quality concrete sealer every 2-3 years to protect against moisture intrusion and freeze-thaw cycles.
- Avoid Heavy Loads: Limit placement of excessively heavy objects (e.g., large planters, hot tubs) that can stress the slab.
- Regular Inspections: Conduct a visual check each season, addressing minor cracks or depressions before they widen.
Choosing the Right Materials
Quality matters. Opt for polymer-modified concrete mixes for improved flexibility and crack resistance. When using self-leveling compounds, select products that meet ASTM C 1155 standards for strength and durability. For injection materials, high-density polyurethane foams provide superior lift and longevity compared to traditional sand-cement slurries.
Cost Considerations
Budgeting for patio leveling depends on the method and extent of repair:
| Method | Typical Cost (per sq. ft.) | Best For |
|---|---|---|
| Self-Leveling Underlayment | $2-$4 | Minor surface depressions |
| Mudjacking | $5-$9 | Moderate settlement, larger voids |
| Polyurethane Foam Injection | $8-$12 | Heavy-load areas, precision lifts |
While DIY approaches can reduce labor costs, professional services often include warranties and guarantee a level finish that meets local building codes.
Integrating Professional Guidance
Even seasoned homeowners benefit from consulting experts who can evaluate soil conditions, recommend the most suitable leveling technique, and ensure compliance with regional standards. For comprehensive assistance, Explore advanced guides and tips that detail each step of the process, from site assessment to final finishing.
Final Thoughts
Maintaining a level patio is a blend of proactive inspection, timely repairs, and strategic maintenance. By applying the tips outlined above, whether tackling small depressions with self-leveling compounds or opting for professional mudjacking for deeper issues, homeowners can safeguard their outdoor spaces against premature wear. Consistent care, proper drainage, and the occasional professional consultation will keep the patio functional and attractive for many seasons to come. For those seeking deeper insight into tailored leveling solutions, Find out more about this approach and ensure your patio remains a reliable foundation for all your outdoor activities.